schnitzel.nvim : my neovim config
schnitzel.nvim is the neovim config that I daily drive. Some friends asked for my dotfile, so I made a public version of it.
Branches
The master branch is a “stable” version that I share publically. If you want a
out-of-box setup, this is what you go for. The “my-own” branch is the up-to-date
dotfiles that I daily drive. You are welcome to take a look, but do expect
frequent breaking changes.
What is this
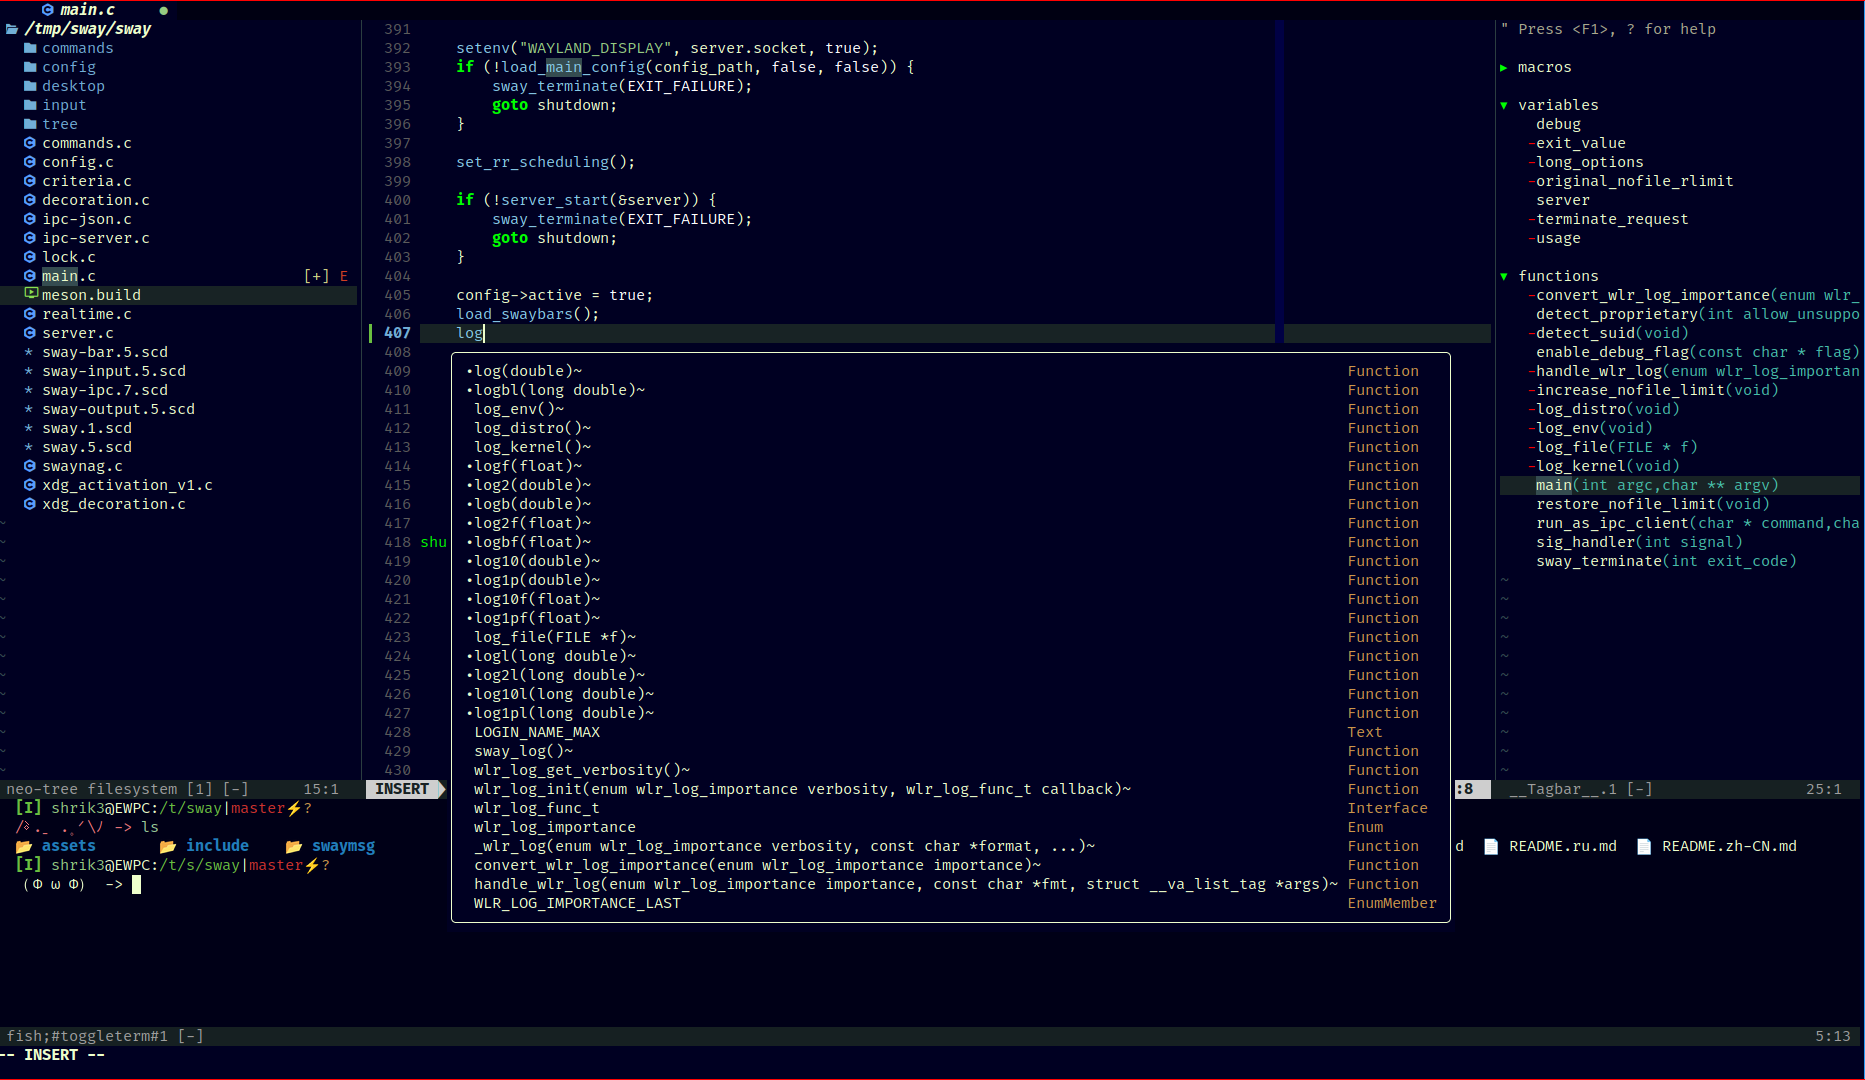
schnitzel.nvim is my personal neovim configuration that I daily drive for programming, note taking and, well, probably all text related tasks.
For beginners
I suggest you read through this section if you are a (neo)vim beginner.
Should I use it?
probably not, at least you Shouldn’t copy exactly my config and use it for the
long run, because this is optimized to my own preference and workflow.
What’s it good for
- it’s minimal, ide-like and modular
- it’s a basic collection of plugins and configs that works out-of-the box for most use cases
- lua as first-class citizen but there’s also room for the old good vimscript
How should I use this one? – I suggest the following:
- simply look around and find what’s interesting for you, I’m happy if this could add to your armory.
- if you want to actually use this config, it’s better to fork it and, never come back to pull again: I’ll try to keep the master as stable as I can but breaking changes are expected. My workflow, needs, and taste will also change over time. I can’t promise you a smooth experience in the long term.
Where can I learn about neovim / find resources
- As always, read the friend manuals. Also the
:help <something>command has good coverage. - Run the vim tutor if you are an absolute beginner. The
vimtutorprogram is ususally installed together with vim. In neovim you can also call:Tutor. - rockerBOO’s awesome-neovim is a great collection of plugins and other useful stuffs.
- If you want to build a configuration of you own, take a look at the starter templetes in the awesome-neovim repo
Build what you use, and use what you build
Prerequisites
- neovim 0.9 +
- install a nerd font
- install ctags for plugin tagbar
- install ripgrep
- this config doesn’t use mason, i.e. you need to manually install lsp servers
- Note that some plugins may require manual setup.
Get started
Backup your old nvim configs
e.g. ~/.config/nvim
Download Schnitzel.nvim clone this repo and dump everything into your config dir. e.g.
git clone https://github.com/shrik3/schnitzel.nvim.git ~/.config/nvim
Launch neovim and sync the plugins:
and let Lazy.nvim handle the plugins initialization for the first time. Then
restart neovim. Should you run into troubles, try :checkhealth lazy.
How to use - Perks:
First, check my cheatsheet.txt to get started.
How to configure and use LSPs
Again, check the cheatsheet for basic LSP commands (e.g. goto def.). Note that
you need to install the language server manually: check nvim-lspconfig.
To add a LSP server, edit /lua/plugin_config/lspconfig.lua.
How to work with Markdown and Latex
This setup comes with basic markdown and latex support.
For markdown preview, edit /lua/plugin_config/vim-markdown-preview, set your
markdown preview browser by editting e.g. let g:mkdp_browser = 'firefox'.
PRIVACY NOTE! by default the markdown previewer is open to local network,
i.e. any machine from the same local network can access you being-previewed
document. This is handy if you want to e.g. share document across devices. Make
sure to turn this off if you are in a public network. To do this turn off this
option:
let g:mkdp_open_to_the_world = 1
To start a markdown preview, type :MarkdownPreview.
For latex preview, find the following line in the /lua/plugins.lua and set
your previewer:
vim.g.livepreview_previewer = 'zathura'
To start a preview, type :LLPStartPreview
How to manage projects(session)
You can save a session at any time with :SSave. If the project already exists
you will be prompted whether to overwrite, otherwise you need to specify a
project name so that a new project can be created. Your saved sessions will be
shown in the startup screen. Check the cheatsheet for more commands.
How to customize
First take a look at how the configs are organized in the following section.
To install a neo plugin:
For plugins that requires only a few or no configs, you can add a line in
lua/plugins/init.lua. Otherwise it’s recomennded to split the config into a
separate file: use lua/plugins/template.txt as a template. Lazy.nvim will
automacally scan the plugins folder and load the config files in it.
To change the home (startup) screen:
modify /lua/plugins/startify.lua. you can add your bookmarks here.
structure
.
├── cheatsheet.txt
├── ginit.vim               -- configs for gui vim such as nvim-qt
├── neovide.vim             -- configs for neovide
├── init.vim                -- entry point of the config, for vimscript config
├── legacy
│   ├── archived            -- stuffs that are no longer used
│   │   ├── ...
│   │   └── ...
│   └── scripts.vim         -- old vimscript utility scripts
├── lua
│   ├── init.lua            -- Entry point of lua config
│   ├── lazy_plugins.lua    -- For lazy.nvim. You don't need to modify
│   └── plugins             -- Dir for plugin configs
│       ├── init.lua        -- where most of the simple plugins are named
│       ├── ....lua         -- more complicated plugin configs in separate files
│       └── template.txt    -- Use this as a template to add new plugin
├── preview.png
├── readme.md
├── LICENSE
└── syntax                  -- Some of my custome syntax defs.

7 directories, 31 files
[+] click to leave a comment [+]
>> SEND COMMENT <<